Table of Contents
Introduction to Glazed Yeast Doughnuts
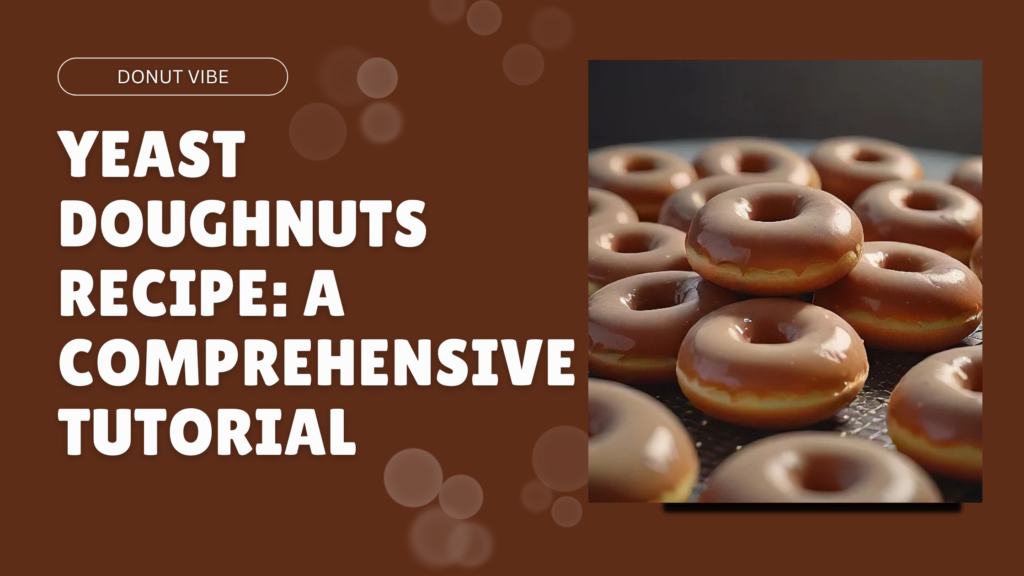
Small, fluffy, and finest of all sugary, glazed yeast doughnuts are maybe one of the top finger foods one can ever get. Such great cafe choices remind one of childhood or indulgent luxuries that are light and crispy on the outside and then merely sweet and soft on the inside. While the cake doughnuts are heavy and use a batter that’s similar to cake batter, the yeast doughnuts custom yeast as a raising agent and are light like bread. Regardless of how much you might love baking or how new it may be to you, creating glazed yeast doughnuts at home is a somewhat fun and justly easy course.

This object will help elucidate the steps of creating the ideal glazed yeast doughnuts from scratch. That’s where you’ll bargain information such as the basic constituents, tools, and tackle you need, how to faultless the glaze, how to vary the doughnut’s flavors, what common mistakes are completed, and how to serve and store the doughnuts. Without further ado, let’s get ongoing and sightsee how you can create restaurant-quality doughnuts right from the comfort of your private home.
Ingredients and Tools Needed
Ingredients for Doughnuts:
- Flour: Do not forget all-purpose flour in the mixture because it makes it a good balance and consistency. It is also advisable to use bread flour in order to get a chewier doughnut.
- Yeast: The active dry yeast should be used, but if it’s not available, then the instant yeast can suffice. Yeast assists in making the dough increase in size and developing that characteristic of light and fluffy texture.
- Sugar: Icing sugar, also known as powdered sugar, is employed in both the dough stage as well as in the glaze.
- Milk: Whole milk helps to enrich the dough and also contributes to the dough’s moistness.
- Eggs: It gives the dough structure and increases the number of nutrients that a dough has.
- Butter: Reduced salt in the dough is used for a tender crumb, and so unsalted butter is used.
- Salt: A little pinch and it does the trick in providing equilibrium to the sweetness and in the enhancement of its taste.
- Vanilla extract: Brings the dough warmth and also contributes to the formation of more layers.
Ingredients for Glaze:
- Powdered sugar: A base with which a glaze that is non-tacky and sweet can be produced.
- Milk: If you want a less dense sauce, you can use water, but for a creamier sauce, you can use milk.
- Vanilla extract: In case to do with the flavor, the following other extracts or flavorings can also be used.
Tools Needed:
- Stand mixer with a dough hook: This makes the kneading of the dough easier.
- Rolling pin: Spread the dough with the same thickness.
- Doughnut cutter: To shape the doughnuts, a round cutter with a small circle in its center will be used.
- Baking sheets: In order to make the doughnuts to rise.
- Frying thermometer: In the process of cooking in order to test whether the oil is at the right temperature required for the cooking process.
- Deep-fryer or heavy-bottomed pot: Used in frying the doughnuts.
- Cooling rack: Allow the fry hot doughnuts to drool off the excessive oil that covers them when fried.
- Whisk and mixing bowl: For applying the glaze, You will need:
Step-by-Step Instructions for Making the Doughnuts
Step 1: Prepare the Dough
- Bloom the Yeast: Start by melting the milk to 110°F/43°C, then dissolve the sugar into the milk. Pour the yeast over the warm milk for approximately 5-10 minutes, where the yeast will start to froth, thus implying that it is active.
- Mix the Dough: In the bowl of your stand mixer, mix the flour, sugar, salt, eggs, and butter. Then, add the bloomed yeast mixture and vanilla extract to the mixture. With the dough hook, continue to knead at medium speed until it forms a homogenous mass that is elastic with approximately 8-10 minutes of kneading. In case the dough becomes sticky, it should probably be made to require a little flour, but be careful not to add too much.
- First Rise: Knead the dough and put it in a bowl greased with oil. Cover with the kitchen towel or plastic paper, and let it rise for about an hour till it doubles its size.
Step 2: Shape the Doughnuts
- Roll the Dough: Afterward, the dough will consume shaped air bubbles in it and this has to be stamped to come out. Decant a slight flour on a clean place and banquet it on the dough then level the dough a diminutive so that it reaches the breadth of half an inch.
- Cut the Doughnuts: By making a hole in the center of the doughnuts with the help of the doughnut cutter (or two round cutters) prepare as many doughnuts as possible. Roll over any scrap again and cut more doughnuts. Remember to not discard the doughnut holes.
- Second Rise: Carefully move the cut doughnuts on the baking sheet which is lined with parchment paper. After that, sprinkle a towel on them and let them rise for the final time for 30-45 minutes or till they get fluffy.
Step 3: Fry the Doughnuts
- Heat the Oil: In a subterranean fryer, heat around a half-inch of oil to 350 degrees using a thermometer to meter the temperature. The oil should be if at all possible, hammering about at least 2-3 inches bottomless smallest hooked on the pan.
- Fry the Doughnuts: The real secret to delicious doughnuts is to fry the doughnuts in small groups, about 2-3 minutes per side, until it become golden brown. Turn them halfway through the cooking time so that the food cooks evenly.
- Drain: Serve the doughnuts using a slotted spoon while placing them on a chiller with paper towels to get rid of oily contentions.
Check Out: How to Make Perfect Jelly Donuts at Home?
Tips for Perfecting the Glaze

Step 1: Make the Glaze
In a separate bowl, add powdered sugar, and then, milk and vanilla extract and mix to obtain a smooth glaze. Glaze must be of a consistency that ought to be thick enough but still easily pourable. if the cream is too thick, add a little more milk to it, but if it is too thin, add more powdered sugar to it.
Step 2: Dip the Doughnuts
When the doughnuts are warm but not hot, simply place them in the glaze. Swirl each doughnut above the bowl for a few seconds to allow the glaze to drip on the bottom part of the doughnut.
Pro Tips for the Perfect Glaze:
- Smooth Consistency: Sift the powdered sugar before adding milk and vanilla to avoid the formation of lumps on your glaze.
- Flavor Enhancements: It is advisable to experiment by including a cup of coffee and the zest of a lemon or almond extract for better glazing.
Creative Variations and Flavor Ideas
Flavored Glazes:
- Maple Glaze: Cook with maple extract instead of vanilla extract and pour more maple syrup on top.
- Citrus Glaze: A sprinkle of lemon or orange zest together with a few drops of the respective juice for a zesty glaze.
Filled Doughnuts:
Do not particularly cut through the middle of the doughnut and after frying, pipe the doughnuts with custard, jam, or Nutella.
Toppings:
- Sprinkles: For glazing the doughnuts, you should pour the glaze over the doughnuts, still warm, and after that, put rainbow sprinkles on top or crushed nuts or even shredded coconut.
- Cinnamon Sugar: To get a more traditional type, then roll the warm doughnuts in cinnamon sugar as soon as you fry instead of using the glaze.
Common Mistakes to Avoid When Making Glazed Yeast Doughnuts
- Over-proofing the Dough: If it is left to rise for too long, then the doughnuts will fall or will be too worldly, and when fried, they will absorb a lot of oil.
- Incorrect Oil Temperature: Doubt the doughnuts are sautéed in oil that has touched a tall temperature, it will only burn the surface of the doughnuts with the inside remaining uncooked. If the oil is moreover cool, the doughnut will soak up the oil, and as an outcome, its determination turns out to be greasy.
- Over-flouring the Dough: If you over-mix or use more flour, the doughnut will turn out very hard and heavy. The dough should be soft and stick on the fingers when it is being kneaded.
- Not Letting the Dough Rest: Omission of the second rise will result in a flat, doughy texture of the doughnuts and not the fluffy one as required.
Serving and Storing Suggestions

- Serve Fresh: A type of yeasted doughnut with glaze glazing should be consumed immediately or at least within several hours after preparation. Best served as is, but you may have it with coffee, tea, or even a glass of milk.
- Storage: Place the doughnuts in a plastic container and keep them at room temperature and it will last up to two days. To warm them up, heat them in the microwave for another 10 seconds.
- Freezing: It is advisable to freeze unglazed doughnuts as this has a longer shelf life of up to two months. To reheat, place on a baking sheet in a 350°F (175°C) oven until heated through, then glaze while still fresh.
Conclusion: Enjoy Your Delicious Homemade Doughnuts!
It container be fairly daunting to make glazed yeast doughnuts from scratch but when done correctly using the right tools, this method and time compulsory, one is certain of delicious fluffy doughnuts similar to those shaped by expert bakers.
FAQs
Could I make doughnut dough ahead of time?
Yes! You can cool the dough unexpectedly after the first increase. When organized to type the doughnuts, tenancy the dough descend to room temperature, shape it, and proceed with the second intensification and scorching.
What type of yeast should I use?
Vigorous dry yeast is normally used for doughnuts, but prompt yeast works as well. If using prompt yeast, you can skip the flourishing step and add it traditionally to the dry elements.